

In the 2 months since I insulated the floor as described in the article: Insulating a balcony or loggia floor: a balcony home office, the filler applied over the expanding foam at the threshold had cracked and crumbled. I had some polyurethane adhesive left over from gluing mouldings around the window and door, so I decided not to buy anything else and to use it to repair the cracked threshold. I did not expect this part of the floor to carry a heavy load, since laminate flooring would be laid over it on cross-linked polyethylene underlay. I took some leftover mesh, applied adhesive, and pressed the mesh into it with a filling knife:


Once the adhesive had dried, I thoroughly swept and wiped the floor to remove debris. I bought kitchen foil and glued it over the entire floor. This foil was intended to reflect heat upwards from the floor. At first I tried sticking it onto the wet floor alone, but I did not like the result, so I used PVA glue:


After covering the entire floor with foil, I laid a second layer of cross-linked polyethylene, 3 mm thick. I used a staple gun. To make everything fire-safe, I covered every spot where the underlay was stapled to the floor, and therefore in contact with the foil, an excellent electrical conductor, with several layers of adhesive tape:


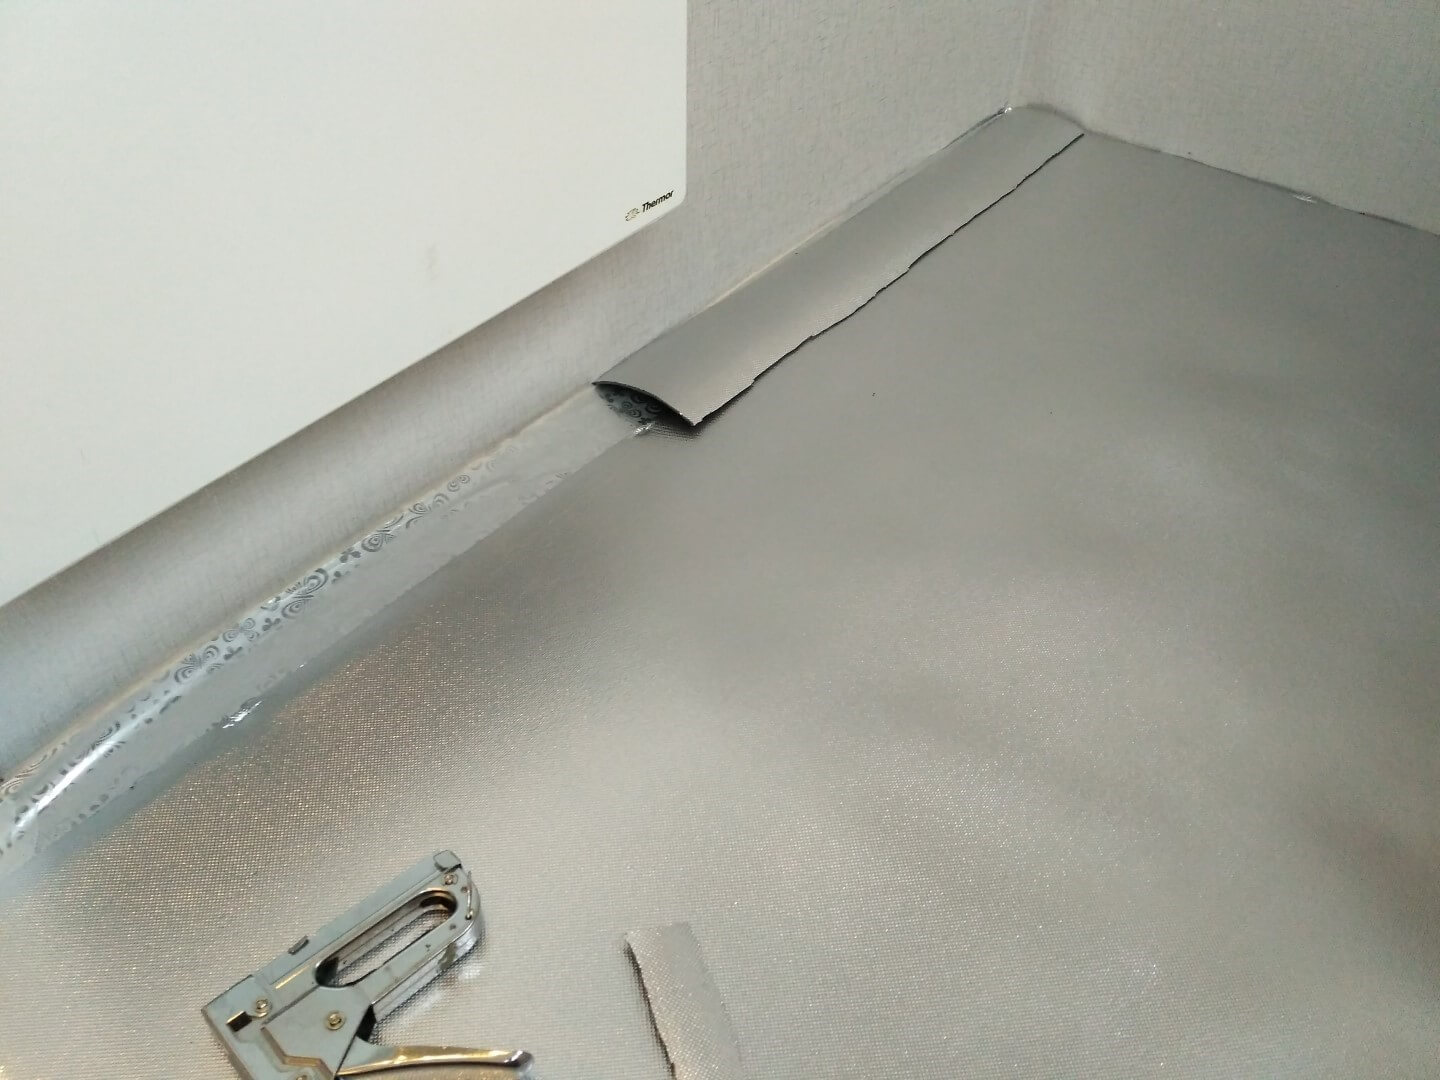


After preparing the base, the heating film needs to be cut to make the best use of it over the floor. I counted how many pieces of bituminous waterproofing I needed, cut them, and used small pieces to insulate the cut ends of the film's contact busbars:


Under the desk, I marked the position for the temperature sensor, which needs to sit directly beneath a heating strip. I cut a recess in the wooden floor with a woodworking chisel and a mortise chisel, lined it first with foil and then with laminate underlay, and sealed everything with adhesive tape to prevent moisture from seeping in:


After cutting the heating film, we fit contact terminals to the power busbars. I recommend using a different cable colour for each side to avoid mixing up the wires and causing a short circuit:


I recommend making the cable connections by soldering them, crimping them with special pliers, or clamping them in terminal connectors. However, I did not have a sufficiently powerful soldering iron, any terminals, or crimping pliers, so I made twisted connections. I twisted the wires firmly together, insulated the joints with electrical tape, cut recesses in the floor as I had for the temperature sensor, and laid the joints in them:

I carefully insulated all the connections between the contact terminals, wires and heating film with bituminous insulation:


After connecting the wires, temporarily connect the thermostat and check that the underfloor heating works correctly. Once it has been checked, lay heavy polyethylene film over the heating film, turning it slightly up the walls so that any water spilled on the balcony does not reach the heating film or seep under the underlay:


To finish the job, all that remained was to connect the thermostat so the underfloor heating would work automatically:
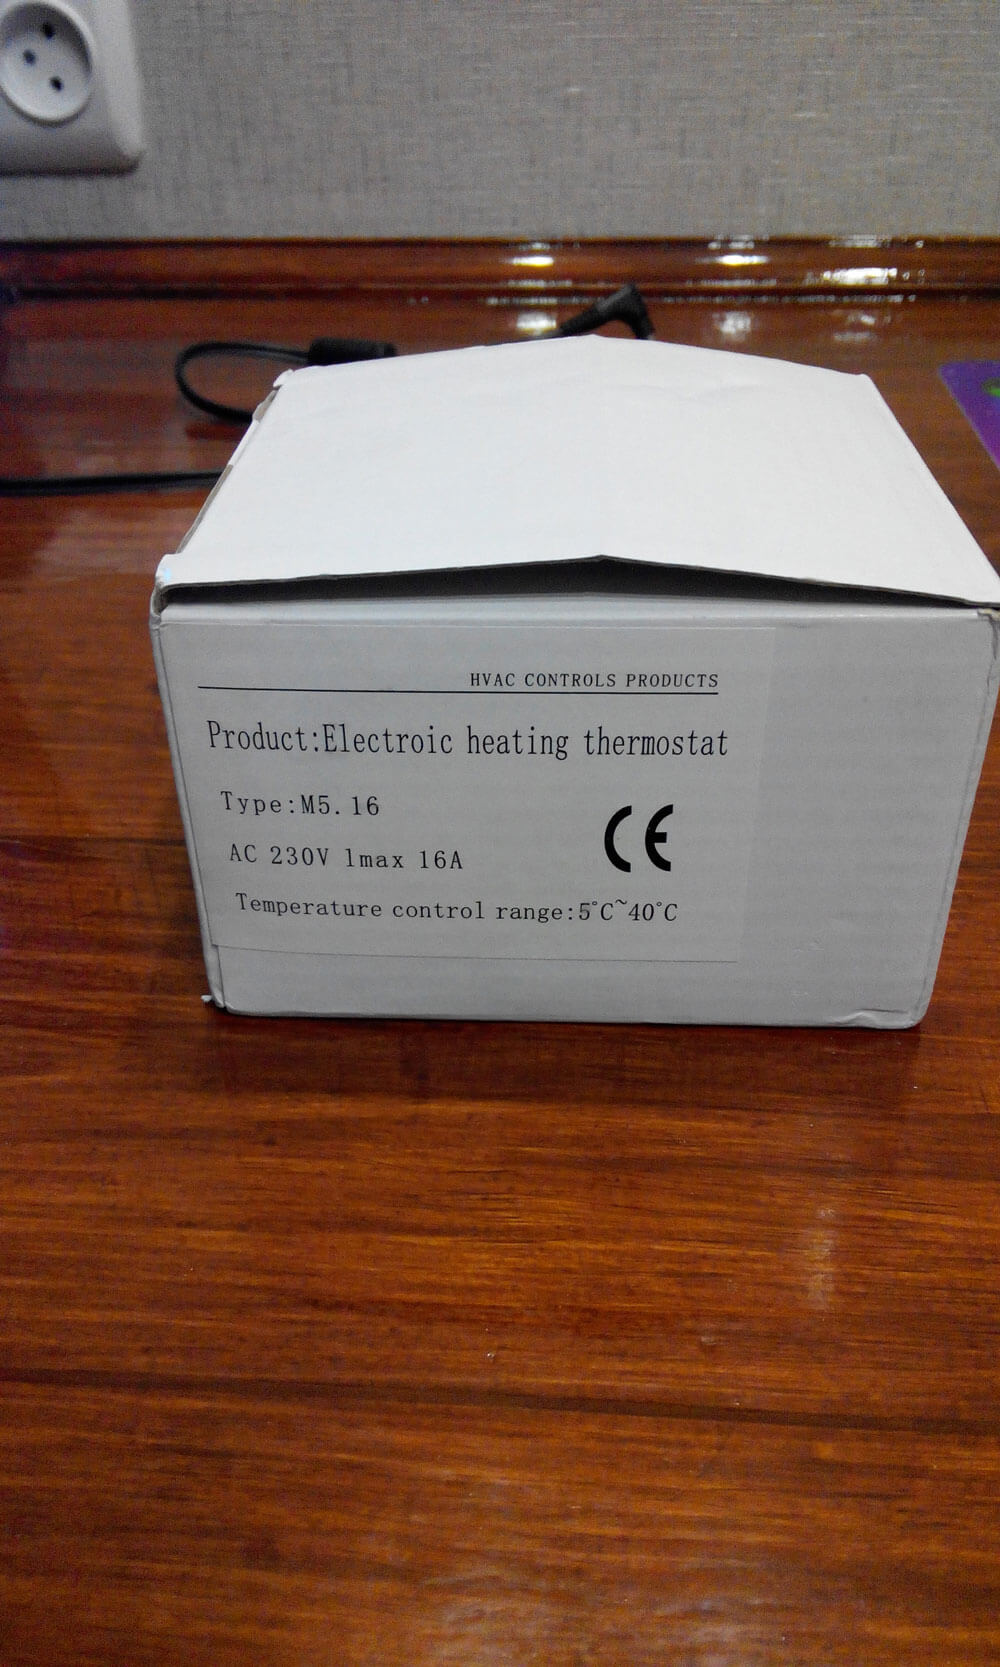


We connect the wires according to the manual. In my case, the terminal block looks like this:

The thermostat is installed, tested and switched off:

The laid laminate flooring, without skirting boards:

The floor spent the winter like this:

The underfloor heating was installed and ran through the winter. It proved convenient as a source of heat.
- Disadvantage: it heats only where the black heating strips are; move slightly to the side, and the floor is cold.
- Advantages: easy installation, fairly economical electricity consumption, and easy replacement of the heating film.
This was Sergey Lazarenko.
I will be glad if my experience of installing underfloor heating on a balcony has been, or will be, useful to you.
If you prefer video instructions, you can watch the video below:





Add comment