

To set up drip irrigation, we bought a 0.8 kilowatt pump station, a watering timer, a mesh filter for drip irrigation, valves, fittings, and black water pipe rated for 8 atmospheres. We connected a socket and a two-gang switch: one switch cuts power in the pit when you climb in for maintenance, and the other switches the pump station on and off. Be sure to connect the earth to the socket:


The water timer I use for drip irrigation, bought on Ebay for 250 UAH in 2014:


We lay out the pipe around the vegetable garden:


For the drip irrigation, I bought flag-type drippers with a 4-litre flow rate from an online shop, along with a punch for fitting the drippers to the water pipe. I chose these because the flag can be removed to rinse out a blocked dripper, and they can be fitted to ordinary water pipe. This pipe is very durable, unlike pipes with built-in drippers, which last 2-3 seasons at most.

I had some white tubing that I decided to use to run water from each dripper to each plant. I cut pieces of wire 7-12 cm long, bent a hook at one end, and taped them to one end of each tube with electrical tape or adhesive tape, which is cheaper and preferable. The hook on the end of the wire catches on the tape when the drip irrigation is removed in autumn, preventing the wire from being left in the ground. Experience showed that this hook is particularly useful because, by the time you remove the tubes in autumn, the drip irrigation is hardly being used, the soil is dry, and the wire has rusted over the summer and is very hard to pull out. Without the hook, the wire stays in the ground, waiting for a bare foot.

Wear gloves: fitting drippers is very painful if you need to install more than 200 at once:

In practice, the best pipe layout proved to be one pipe for 3 rows of tomatoes. The pipe runs along the middle row and is pinned to the ground at both ends. Beside each plant, we fit a dripper without tubing. Immediately alongside it, slightly above and below, we fit two more drippers with tubing leading to the tomato rows on either side of the pipe:


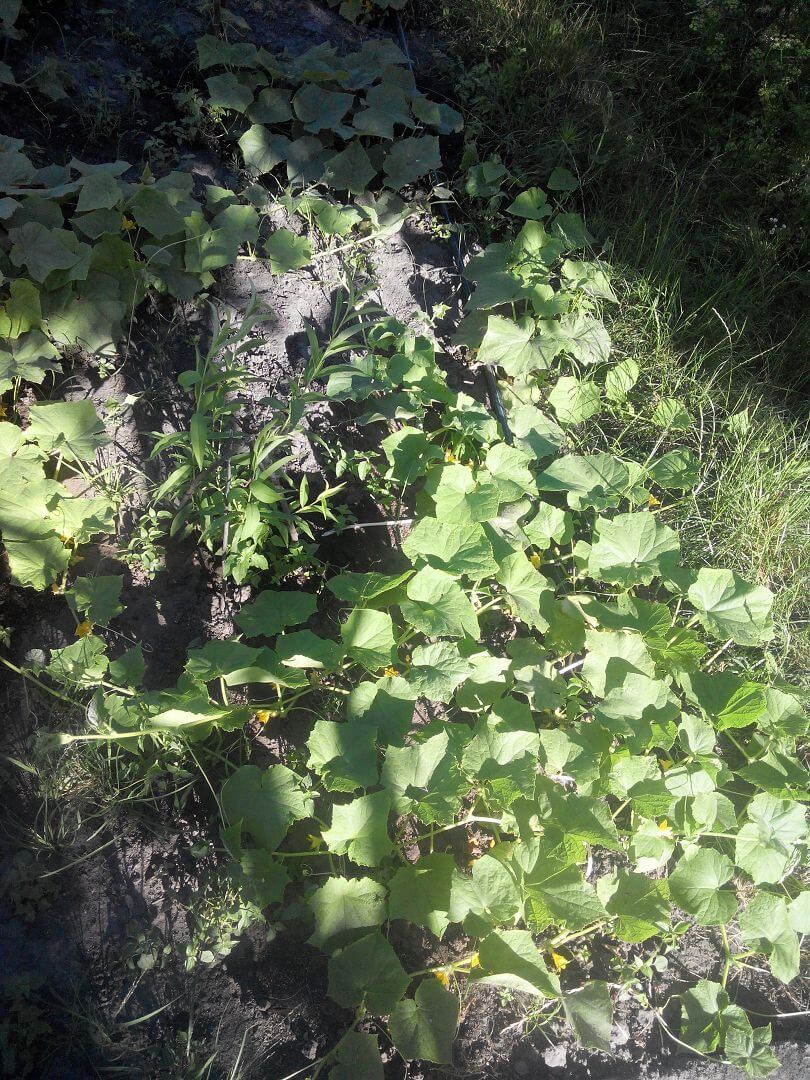
We also run pipes to the cucumbers and fit drippers:




I fitted a rotating sprinkler for the strawberries and also ran a dripper to each grapevine:


Conclusions:
I liked being able to stay away from the country home for a week during hot weather: the irrigation works very well. Initially, I set the timer to water for one minute every 10 minutes, 6 times in the morning and the same in the evening, so the sun and soil could warm the water in the pipe before it reached the plants. However, after reading the timer's description and its service life of a thousand on/off cycles, I set it to run 2 times a day: morning and evening, for 10 minutes each time. In practice, it turned out that watering once a day in the evening for 15 minutes was enough.
This was Sergey Lazarenko.
Here is a video of the drip irrigation working:
If you do not have tubing to run from the drippers to each plant, you can make it yourself. Watch this video showing how to make tubes from strips cut from a plastic bottle. However, to use these tubes for irrigation, they need to be painted so algae do not grow inside them in the sunlight:


Add comment