

Today is a very hot day. I came back from the shop with a bottle of water, and decided to wrap it in a thin layer of polyethylene laminate underlay to keep the water cold for longer in the heat. Fortunately, I had a piece of this underlay left over from a parcel from China.
What we will need:
- a plastic bottle
- narrow adhesive tape
- a piece of polyethylene underlay
- scissors or a knife
- a pen for marking
See the photos of the process below:
The materials used:

We mark where to cut the packing foam:

We tape the foam onto our future thermos bottle:

We mark and cut out the bottom of the mini thermos:

We put adhesive tape onto the cut-out bottom of the mini thermos:

We attach the cut-out bottom to the bottle:
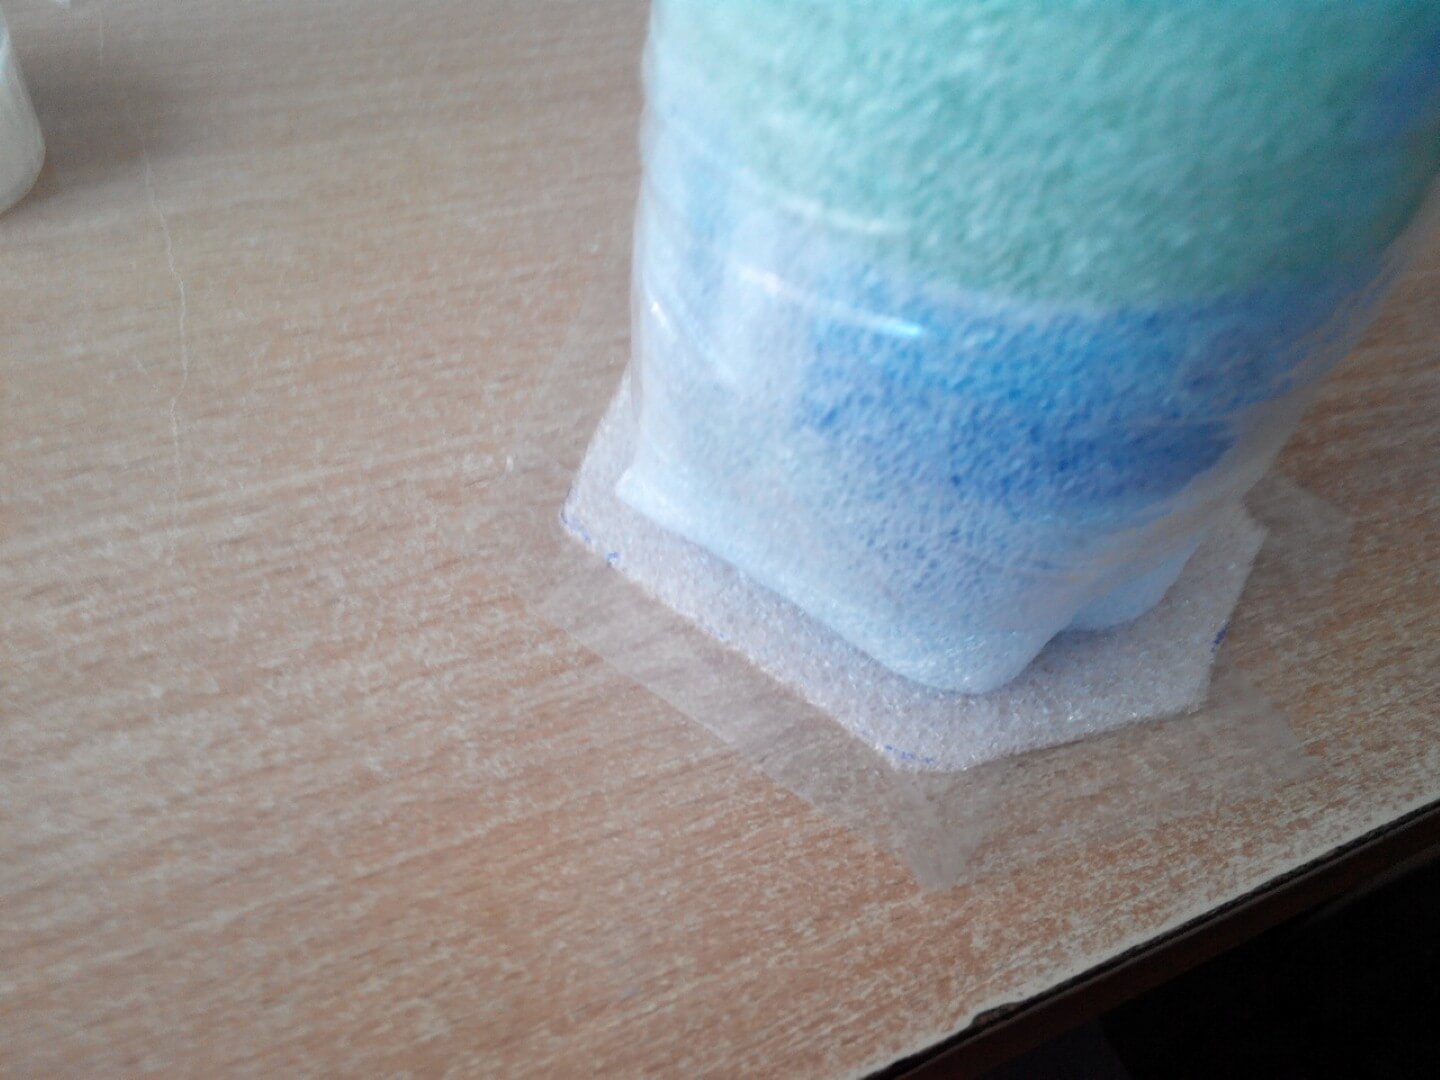

We secure the bottom with adhesive tape:
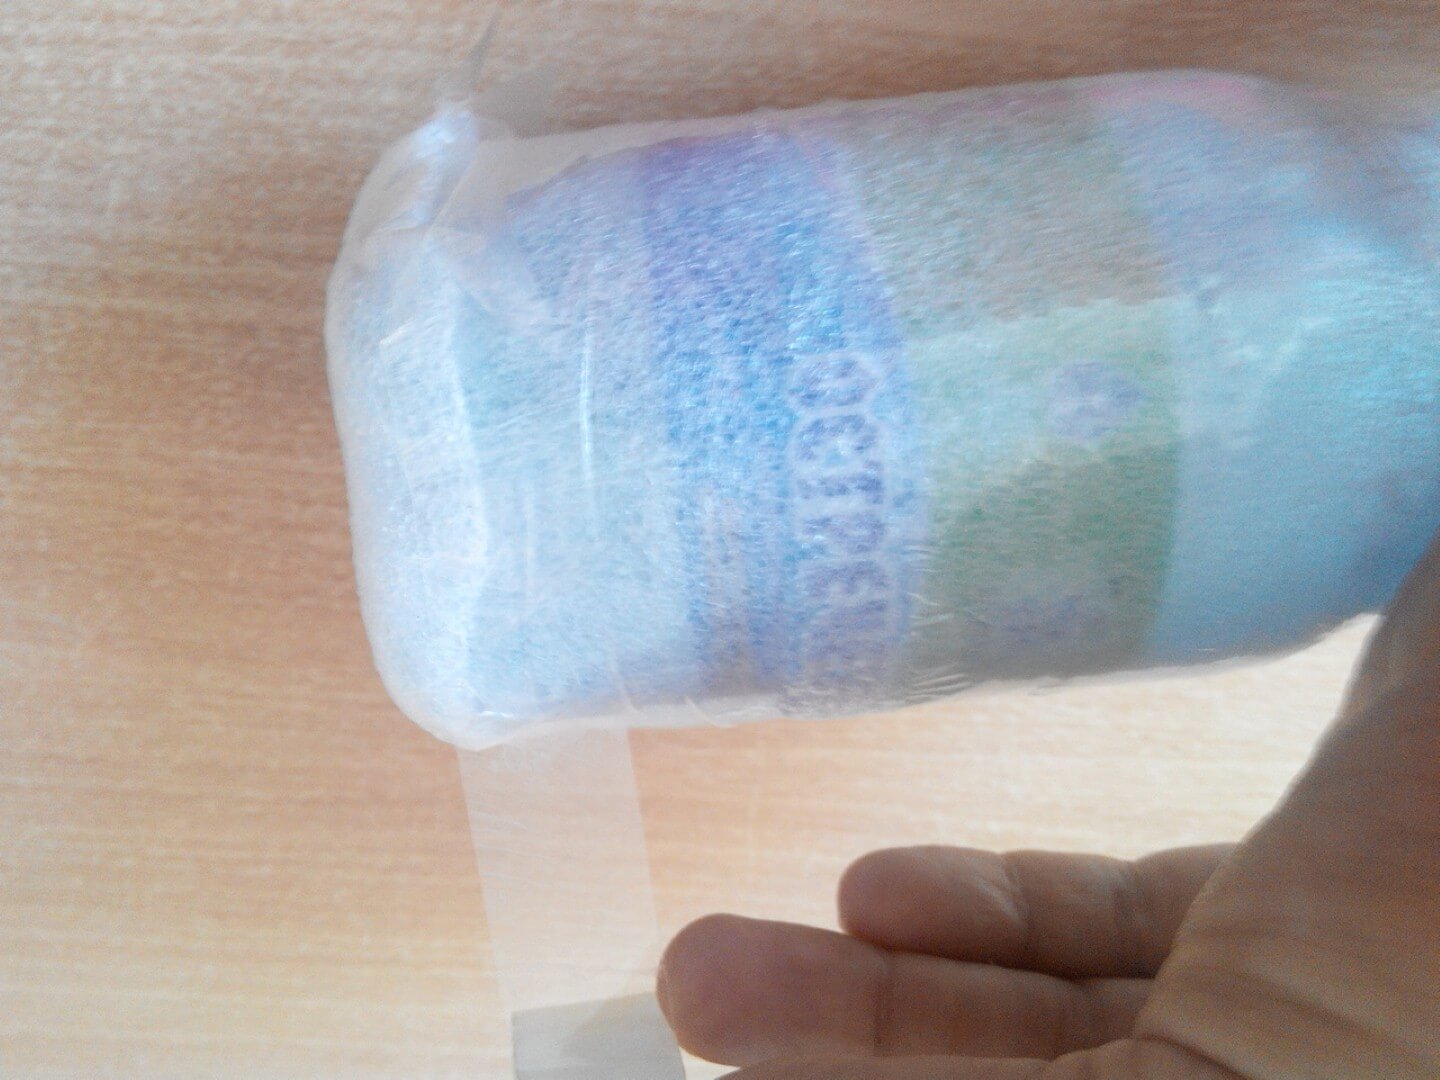
We mark the remaining uncovered part of the bottle and cut the foam:


After trimming, we secure all the packing foam with adhesive tape. We also wrap the entire bottle in two layers of tape to keep the foam from fraying:

A finished mini thermos made from an everyday bottle that you would not mind losing or throwing away.

If you have underlay with a foil coating, you can use it, and it should work more effectively. Using the two together should be even more effective at keeping the contents warm or cold.

In this version, the lid ought to be covered with a cap made of the same foam, since that is where most heat is lost. However, my aim was not to turn a cheap plastic bottle into a high-quality thermos.
I tested this homemade mini thermos bottle on a trip to the seaside, taking a bottle of chilled water in my backpack. In a black backpack in the blazing sun, the water's temperature changed only slightly between morning and lunchtime. Of course, this is not a vacuum flask, but it performed acceptably in use. Next year I will use the same foam, along with foam with a metallised coating.
This was Sergey Lazarenko!
Let us take a short break and watch a short video about four campfires based on the Finnish candle principle:

Add comment